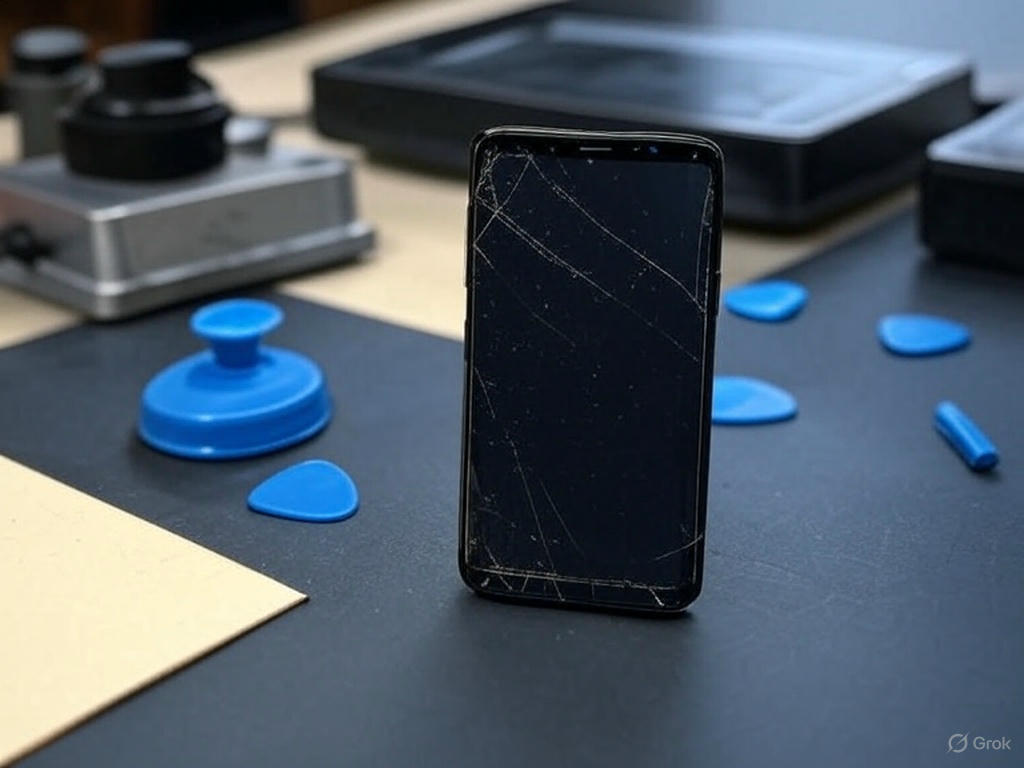
Replacing a screen on a Samsung Galaxy S9+ is challenging but may be necessary for recovering data. These instructions could apply to other Samsung Galaxy phones, but make sure that you follow instructions for your exact model to make sure that you remove all screws and cables at the right steps and reconnect and re-add the screws during the correct reassembly steps as well. The main issue I had is that the phone with the bad screen and the used phone with the good screen were both already cracked in the front and back, so the cracks spread during disassembly. Using the proper tools can at least reduce that problem for the screen and rear panel. It should completely prevent any cracking if there is no existing cracking or weak spots if proper tools and techniques are used. However, there are likely both problems with any used phone even if not visible. Using a spare screen and spare rear panel, instead of ones from another “donor” phone (a new/used extra phone disassembled for parts) eliminates the need for this risky removal step (Either part removed will likely crack. That doesn’t matter if they are being discarded but may make the removal more difficult). The person you are helping should be warned that whatever part not being replaced with a separately purchased spare will likely develop cracks when disassembling the phone due to it (display glass or rear panel) being made of glass held on by adhesive.
Use a hotplate, I hear 100 degrees is good, and use a strong suction cup (like recommended by iFixit) to lift it while you get a pick (wedge, looks like a thin guitar pick) under it and work your way around slowly in a continuous motion, not going too deep near the display cable because you must avoid cutting the display cable, and adding more picks as you go so it doesn’t re-stick. Wear gloves (mostly/all cotton is safest) to protect yourself from the heat. It was near impossible with a hair dryer and getting it off even with thin picks cracked the back all apart. The rear panel is little more than thin glass attached with glue (screen is similar but with double-sided tape).
For wedges I cut apart a demo credit card and sharpened the shards with sandpaper, but professional picks may be thinner and therefore more easily avoid cracking. Therefore, get the right tools, unlike me, and if you do it patiently maybe it won’t crack. It is going to be hard not to cause cracks it especially if it is already cracked. The cracks will likely spread, and/or it will be difficult to continuously go around when you get stuck on one, and you may have to go around the other direction instead to get back to where you were stuck, adding more picks as you go as usual.
Similar issues occurred with the front. I destroyed the partly working old display and a display from a part donor (used) phone (both ended up with black screen) so I had to buy a third screen that was new (It was a new spare, so it still had protective film over the double-sided tape) and finally fixed it. Also, make sure the display cable clicks in before adhering the screen’s included double-sided tape! The cable has to be exactly aligned before clicking in, and if you adhere it at the wrong position that may never be possible. I had to un-bend some pins in my case, that may have been bent due to attaching the used donor screen adhesive before the cable and trying to force it. When installing the new spare, I put a large think plastic wedge between the phone and screen until I saw the screen actually work (show Samsung boot screen), then slowly closed it like a door trying to avoid bubbles or misalignment.
Bottom line: Get the proper tools, unlike me, and be patient, unlike me (Doing one phone at a time to avoid exhaustion would have probably helped with that, and taking breaks to stay hydrated, and using a hotplate/iOpener to avoid heat the hairdryer caused in the room). The proper tools and steps are shown in this video: Samsung Galaxy S9+ Display Repair-How To! This iFixit video uses their “iOpener” instead of a hotplate and it seems to work fine, with technique and patience and at least in the case of that tool requiring some isopropyl alcohol applied around the edges as you go (may even be necessary between heating/reheating it if using a hotplate instead). This advice is given as-is without any guarantee and follow it at your own risk. I did not receive any request by iFixit to say anything, and I am not affiliated with them.

Comments
2 responses to “Replace Samsung Galaxy S9+Screen and Rear Panel”
Much appreciated!
I really liked this.